How do I join my NAS with a Windows Active Directory domain?
In order to connect your ASUSTOR NAS to your Windows AD domain you will need the following types of information from your AD server:
· Domain Name
· Domain DNS Server
· AD Server Name
· Domain NetBIOS Name
In the following example we will show you how to obtain these pieces of information from a Windows AD server and then use them to connect a NAS to a Windows AD domain.
Note: Your Domain DNS Server is the DNS sever that is used for your Active Directory. If you are unsure about what the IP address for your Domain DNS Server is, please contact your system administrator.
Getting Information for the AD server
STEP 1
In your Windows AD server double-click on [Computer].
STEP 2
Then click on [System properties].
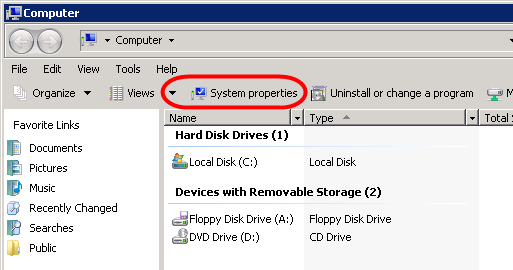
STEP 3
The system screen should now appear. You should be able to find your AD Server Name and Domain Name on this screen.
Please see the graphic below:
A. = AD Server Name
B. = Domain Name

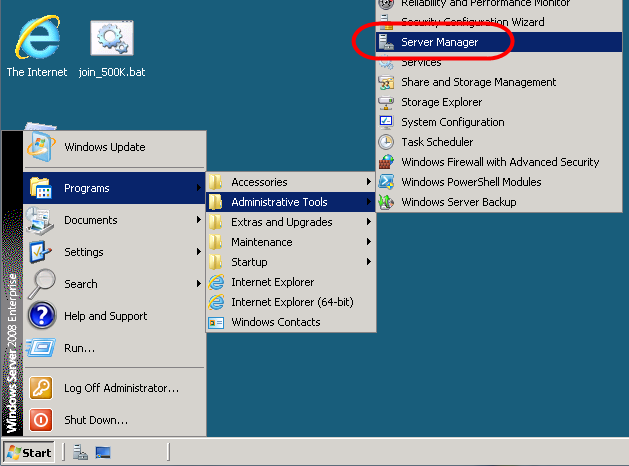
STEP 4
Now select [Start] -> [Programs] -> [Administrative Tools] -> [Server Manager].
STEP 5
In the left hand panel navigate to [Roles] -> [Active Directory Domain Services] -> [Active Directory Users and Computers]. Right click on your domain and then select [Properties].
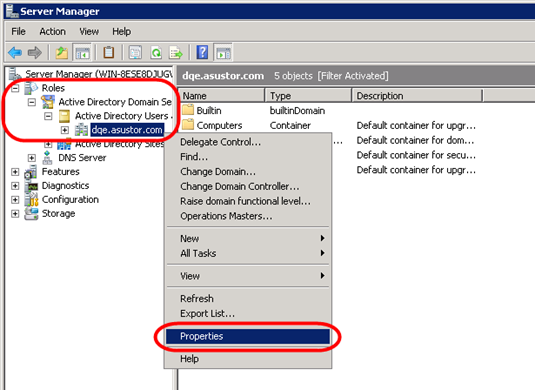
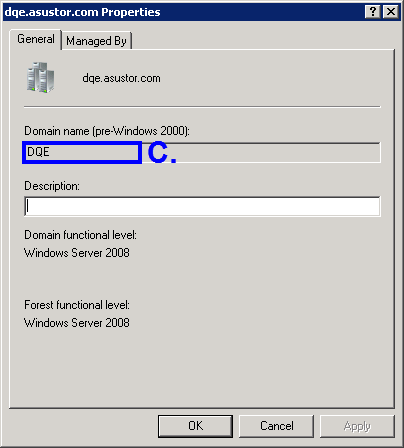
STEP 6
In the Properties dialog box you should be able to find your Domain NetBIOS Name.
Please see the graphic below:
C. = Domain NetBIOS Name
Connecting the NAS to the AD domain
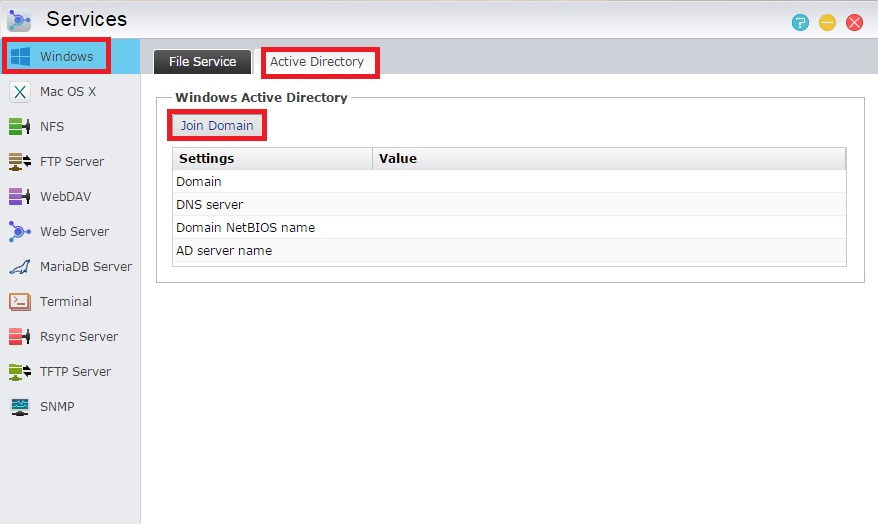
STEP 1
In ADM select [Services] -> [Windows]. And then under the Active Directory tab click on [Join Domain].
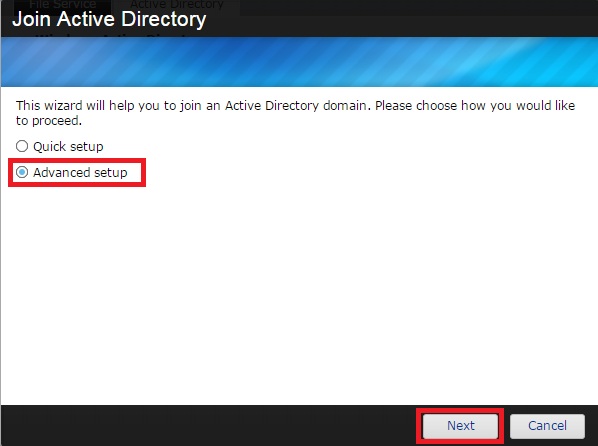
STEP 2
The Join Active Directory window will now appear. Select the [Advanced setup] radio button and then click [Next].
Note: You can also choose the [Quick setup] option if you wish.
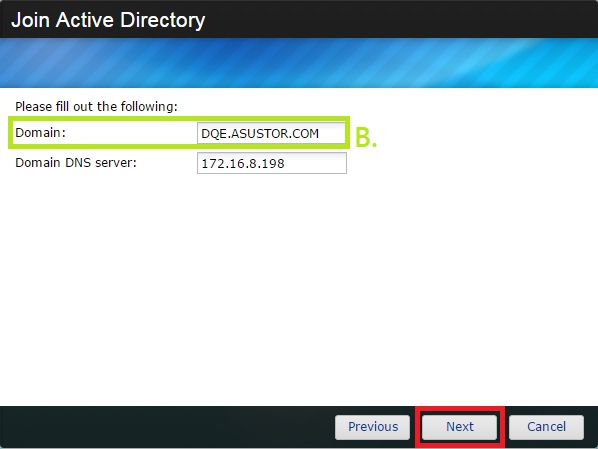
STEP 3
Use the information that you obtained in the previous section to fill out the required fields.
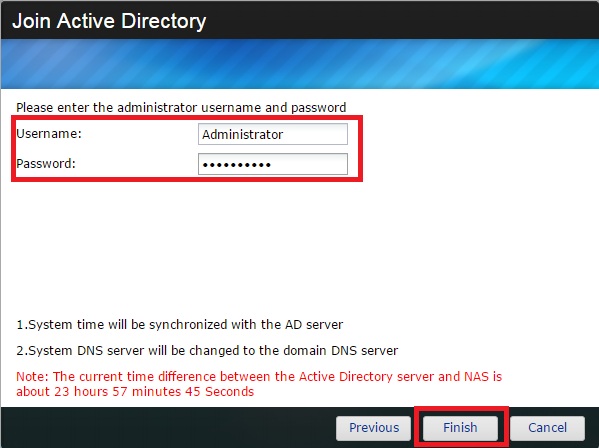
STEP 4
Enter the administrator username and password for your AD server and then click [Finish].
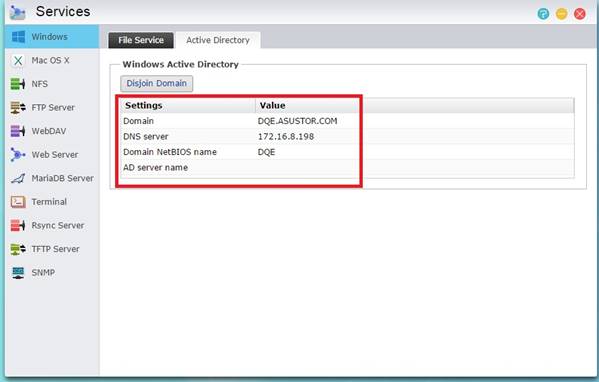
STEP 5
You should now have successfully connected to your AD domain.
If you encounter any problem when proceeding above configuration, please submit a support ticket in our support center to get further help: